Fixing A Washed Up Sink Area On A Real Budget.
Learn how to create a budget-friendly paper bag countertop using simple materials like wood glue and brown paper. This step-by-step DIY shows how to transform countertops without replacing them, plus durability results after 3 months of real-life use.
KITCHEN
Maria Lemons
5/8/20242 min read
🌿 From Bland to Cozy: My Real-Life Sink Makeover
At Low-Cost Cozy, I focus on making real spaces feel better without spending a lot of money—or energy.
This project started with my sink area, which felt dull, worn out, and honestly frustrating to look at every day.
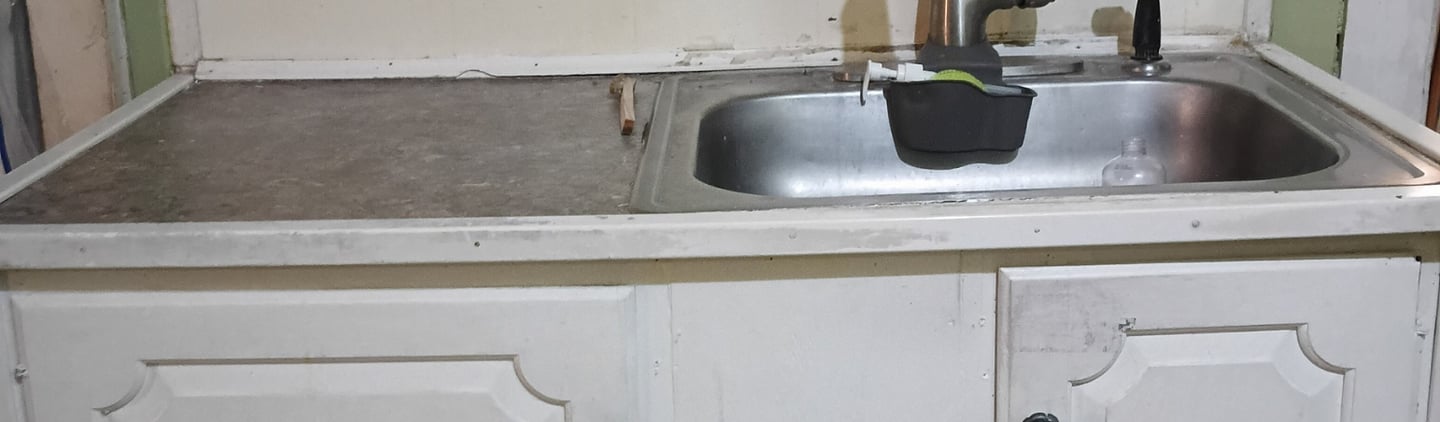
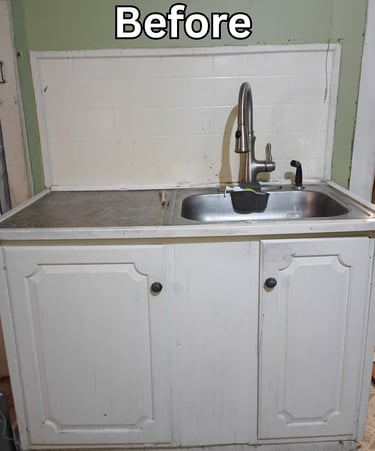
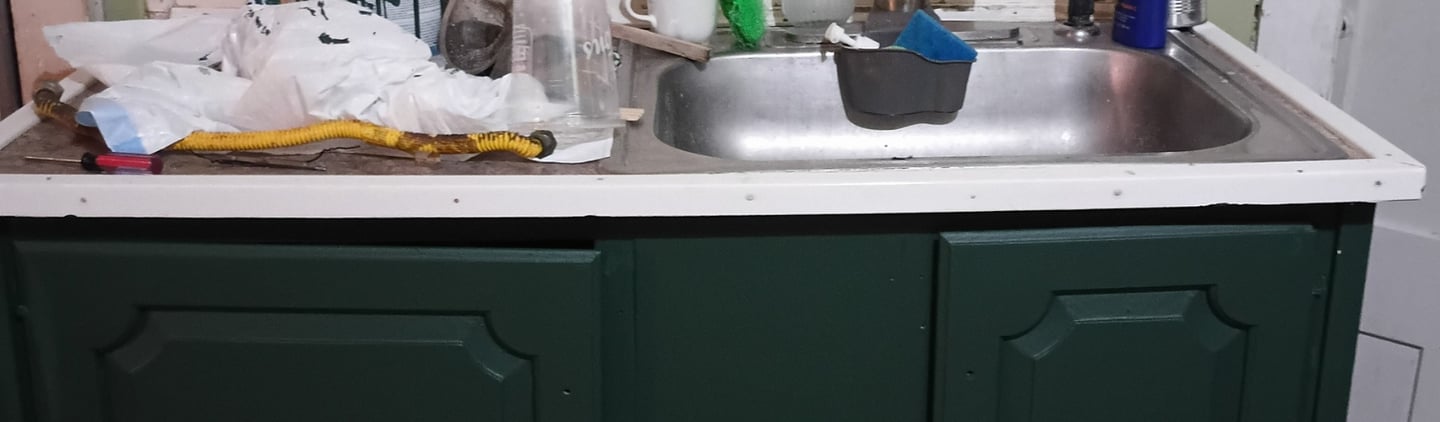
✨ The Before: A Space I Avoided
Before this makeover, the sink area felt tired and unfinished. The old stick-on tile was peeling, the caulk looked worn, and no matter how much I cleaned, it never felt truly fresh.
It wasn’t just about appearance—it made the space feel less comfortable to use. Even doing dishes felt more draining in a space that didn’t feel clean or cared for.
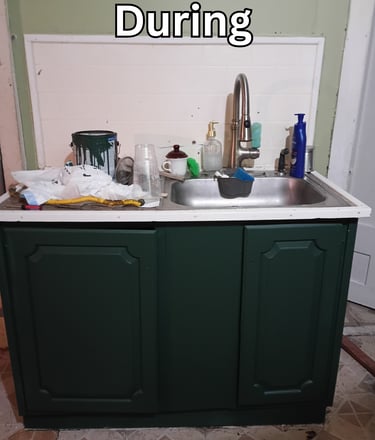
🎨 Step-by-Step: How I Did It
1. Cleaning Everything First
I started by thoroughly cleaning the cabinets, countertop, and sink with soap and water to remove any grease or buildup.
2. Painting for Contrast
After everything dried, I lightly prepped the cabinets and painted them a dark, rich green to contrast with the light green walls.
This simple step made the entire space feel more intentional before I even touched the countertops.
3. Removing Old Materials
I removed all the old stick-on tile and caulk, then cleaned and vacuumed the area to get a fresh surface to work with.
4. Treating the Surface
I sprayed the area with hydrogen peroxide to help kill mold and bacteria, then let everything dry completely.
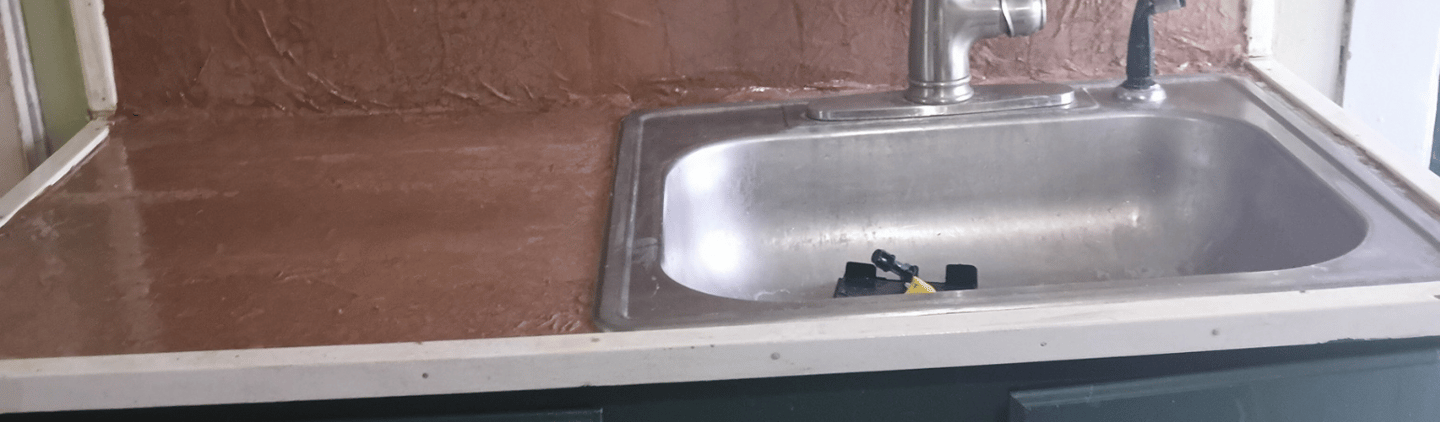
5. Creating the Paper Bag Countertop
I used brown deli paper (you can also use torn paper bags) and made a glue mixture:
1 part Titebond III wood glue
3 parts water
I crumpled the paper, dipped it in the mixture, squeezed out excess, and layered it across the countertop and up the backsplash.
Around the sink, I built up extra layers for strength and coverage.
6. Drying Time
I let everything dry for a full 24 hours.
7. Sealing for Protection
Once dry, I applied multiple layers of polyurethane to seal and protect the surface.
💪 Durability & What Surprised Me
This is what surprised me the most.
After 3 months of daily dishwashing, the countertop is still holding up really well. No peeling, no major wear, and it still looks cozy and textured.
There is one unique thing I noticed:
When I leave dishes to drain on a towel, the moisture can temporarily make the polyurethane look slightly darker or cloudy in that spot.
But once it dries, it goes right back to its clear, leather-like finish.
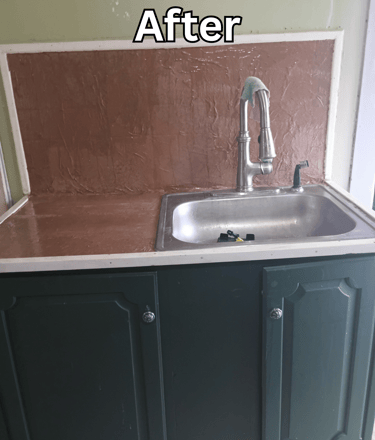
💚 The After: A Space That Feels Better
Now the space feels completely different.
The contrast of the dark green cabinets with the lighter walls adds depth, and the textured countertop gives it a warm, custom look.
It’s not perfect—but it feels clean, intentional, and comfortable.
And that’s what matters most to me.
🛒 Supplies I Used
Brown deli paper (or paper bags)
Titebond III wood glue
Water
Hydrogen peroxide
Paint (dark green)
Polyurethane
Basic cleaning supplies
Paint brush